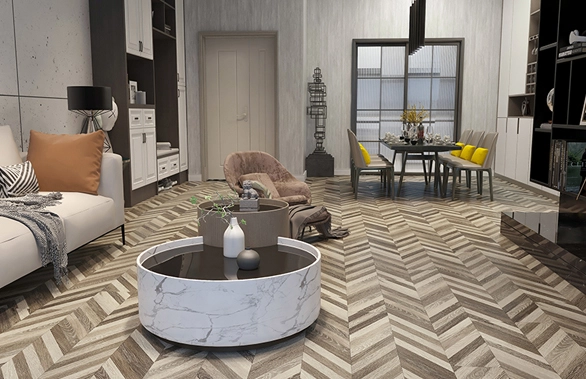
Installing a PU stone wall is less about lifting heavy masonry and more about getting the layout, substrate and joints right. Lightweight polyurethane panels can be easier to position and cut than conventional stone cladding, but a good finished wall still depends on accurate leveling, suitable adhesive or mechanical fixing, careful corner treatment and a layout that does not make the repeated panel pattern obvious.
RIVER's current PU stone product uses a molded polyurethane construction in a 1200 × 600 mm customizable panel format. Before installation, the fixing method should be chosen according to the wall substrate, indoor or outdoor location, panel specification and project requirements rather than assuming that one adhesive or one screw method is suitable for every wall.
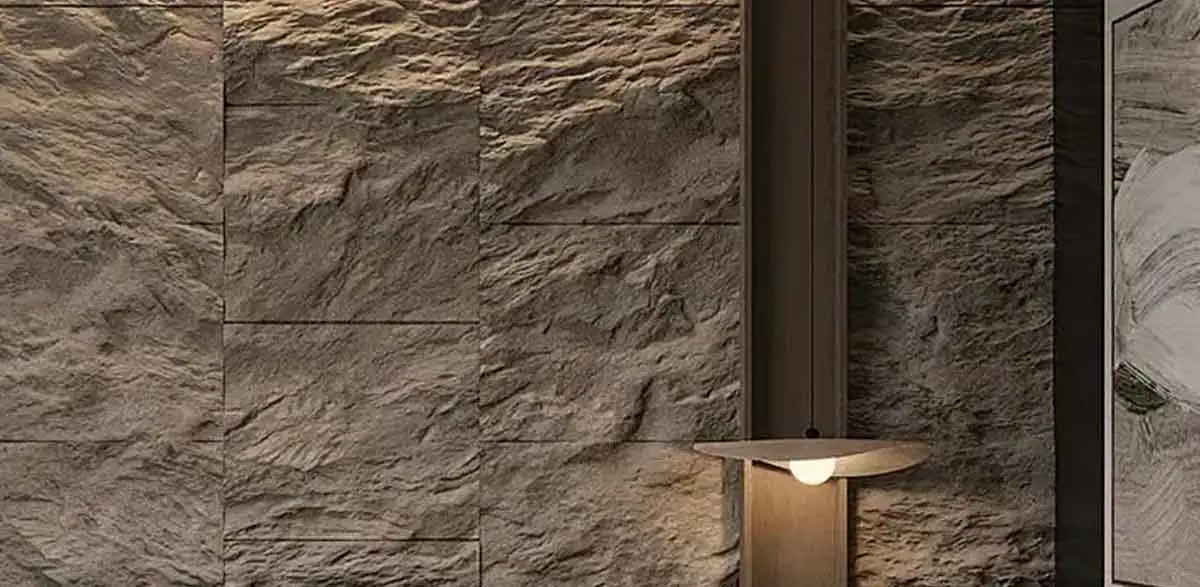
Deep 3D texture makes layout and joint planning especially important on PU stone feature walls.
The panel may be the same, but the fixing strategy can change significantly depending on what is behind it. A painted interior wall, gypsum board, plywood, concrete and an exterior wall should not automatically receive the same installation system.
| Substrate / Location | What to Check | Fixing Direction |
| Painted Interior Wall | Paint adhesion, wall flatness and surface cleanliness | Suitable construction adhesive may be used if the wall finish and adhesive are compatible |
| Gypsum / Drywall | Board stability, studs and whether the surface coating can support bonded panels | Follow adhesive instructions and consider mechanical fixing where required by the panel or project |
| Plywood / Timber Backing | Panel rigidity, moisture condition and secure attachment of the backing | Adhesive and/or appropriate mechanical fixing depending on the system |
| Concrete / Masonry | Dust, laitance, moisture, surface irregularity and fixing compatibility | Use a bonding or mechanical system suitable for masonry rather than treating it like drywall |
| Exterior Wall | Weather exposure, wind load, drainage, substrate, panel coating and local requirements | Mechanical fixing is generally more important; confirm the complete exterior system before installation |
A stone texture can hide small visual differences inside the pattern, but it cannot hide a panel row that gradually climbs or drops across the wall. If the floor, skirting or ceiling is not perfectly level, using it as the only reference can cause the joints to drift.
Mark a true horizontal reference line first. Dry-position several panels along the wall and check where the first and last panels will finish before applying adhesive or installing screws.
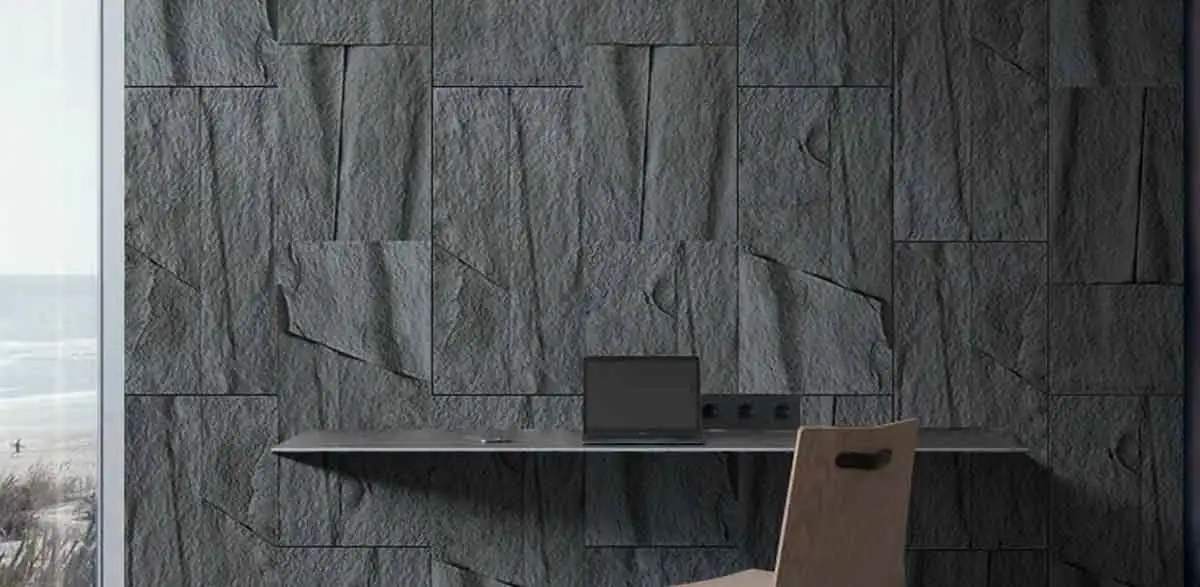
On large walls, horizontal and vertical joint alignment is much easier to notice from a distance.
PU stone is molded, which means the relief pattern may repeat from panel to panel. If identical panels are installed in exactly the same position in every row, the eye can begin to notice repeated rocks, grooves or edges.
Before fixing the first row, lay out several panels on the floor or temporarily hold them against the wall. Rotate or shift compatible panels where the product design allows, and stagger joints so the wall reads as one stone surface rather than a visible grid of rectangles.
The correct fixing method depends on the substrate and application. Adhesive provides broad contact with a suitable wall surface, while mechanical fasteners provide positive attachment to the supporting substrate. Some projects use one method; others use both.
• The substrate is flat and stable
• The adhesive is compatible with PU and the wall surface
• The application is allowed by the panel and adhesive instructions
• The project is exterior or exposed
• The substrate requires positive fastening
• The panel or local project specification requires additional restraint
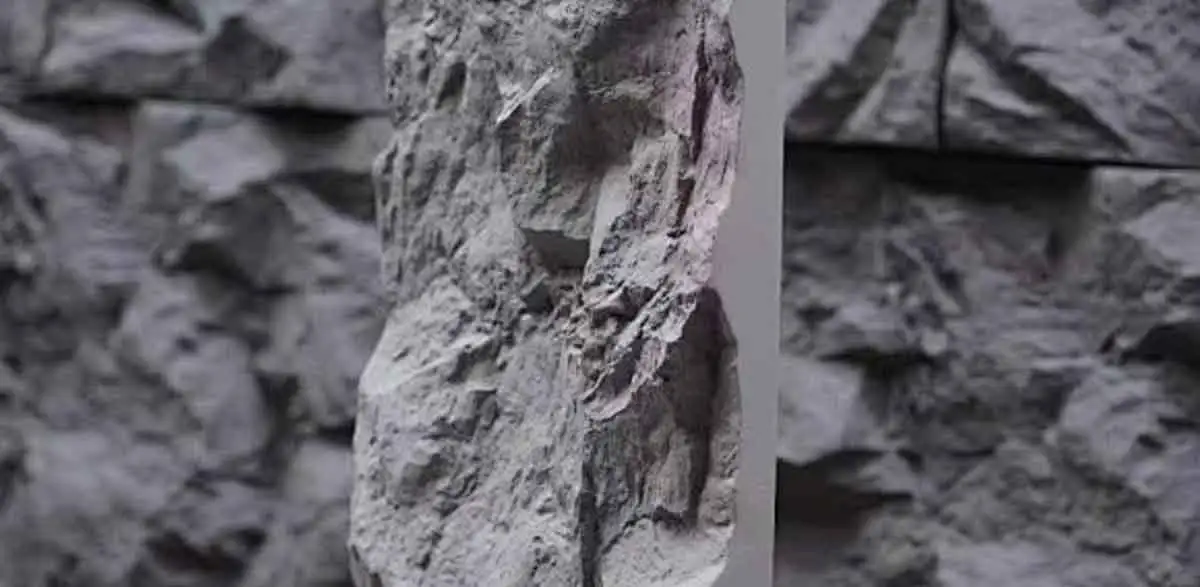
Deep relief means cuts and exposed edges need more planning than a flat decorative board.
A finished PU stone wall looks convincing when the eye follows the stone texture instead of the panel boundaries. Joint treatment therefore starts during layout, not after the wall is already installed.
A decorative seam, an interlocking panel connection and a perimeter/weather seal are not the same thing. Applying visible sealant across every joint without checking the panel design can make a realistic stone wall look artificial.
For exterior work, sealing requirements become more important because openings, penetrations, panel transitions and water-management details must be coordinated with the complete facade system. Follow the specified exterior installation method rather than relying on cosmetic caulk alone.
Corners are one of the easiest places to reveal that the wall is made from panels. The right method depends on whether matching corner pieces are available for the selected texture.
| Corner Method | When It Works Well | What to Watch |
| Matching Corner Piece | When the selected panel range offers a coordinated inside or outside corner | Keep texture orientation and color consistent with adjacent panels |
| Mitred Corner | When a cleaner wrapped appearance is required and the profile can be cut accurately | Deep 3D relief makes accurate mitres more difficult than on flat panels |
| Butt Joint + Finish | When the project uses a deliberate edge or trim detail | The exposed polyurethane edge needs an intentional finish |
Openings are easier to handle when they are included in the dry layout. Avoid positioning a socket or narrow door return exactly through the most complicated raised part of the texture if moving the panel layout slightly would produce a cleaner cut.
Measure from fixed reference points, transfer the dimensions to the back of the panel, and check the orientation before cutting. Always follow appropriate eye, dust and tool-safety procedures when cutting polyurethane products.
Exterior installations add forces and exposure that an interior feature wall does not see. The panel specification and fixing system should therefore be confirmed for exterior use before work begins.
As an industry reference, GenStone's polyurethane faux-stone installation guidance uses combinations of construction adhesive, mechanical fasteners, staggered seams, corner pieces and sealant depending on the substrate and exterior detail. Their guidance also stresses level installation and proper treatment around openings.
You can review: GenStone's faux stone installation overview
For more detailed corner, fastener and finishing examples, see their stone veneer installation tips.
Start with the net wall area, then account for doors and windows. After that, add an allowance for cuts, corners, pattern adjustment and possible replacement pieces.
Do not calculate only from the nominal 1200 × 600 mm panel size and assume every cut piece can be reused. Deep molded patterns and edge connections can limit where offcuts fit, especially around corners and openings.
| Item | Current Product Information |
| Material | Polyurethane (PU) |
| Listed Size | 1200 × 600 mm, customizable |
| Stone Form | Thick-slab 3D decorative profile |
| Color | Black, white, gray and customized colors |
| Packing | Current listed product: 10 pcs/box |
See the current RIVER Faux Polyurethane Stone Panel or browse the PU Stone Wall Panel collection.
PU stone is lightweight, but that does not make layout unimportant. A straight first row, well-planned pattern, controlled panel joints and properly finished corners usually have more influence on the final visual result than simply using more adhesive or more screws.
Send RIVER your wall dimensions, substrate, indoor or outdoor location, preferred stone texture and order quantity. Our team can help confirm available panel specifications, samples and project requirements before bulk ordering.
Request PU Stone Samples & Project Information